Why a Cleaning Routine Works Better Than Occasional Deep Cleaning
Effective cleaning has less to do with scrubbing every surface every day and more to do with matching the method and frequency to the surface, the amount of traffic it sees, and the needs of whoever lives in the space. A good routine also recognizes that cleaning, sanitizing, and disinfecting aren’t interchangeable terms: wiping away visible dirt and dust is a different task than reducing allergens, and both are different from disinfecting for a specific health concern. Equipment choices reflect this same logic. A wet & dry vacuum, for instance, is built to handle both dry debris and certain liquid messes, while a Robot vacuum falls into a category designed for automated, routine floor maintenance rather than deep or specialized cleaning. Neither is mentioned here as a recommendation—just as an example of how different tools serve different purposes. What follows is a realistic framework for building a routine that protects your surfaces, keeps dust from piling up, and avoids reaching for unnecessary products.
Start With the Conditions in Your Home
Your cleaning priorities should grow out of your actual circumstances: household size, whether you have kids or pets, the types of flooring you have, how often you cook, outdoor pollutants in your area, and any allergies or respiratory sensitivities in the household. Rather than applying the same schedule to every room regardless of use, it makes more sense to figure out which areas see the most traffic and contact. A home with pets, for example, will likely need more frequent attention to floors and upholstery, while a quieter household with mostly hard flooring can probably get away with less frequent deep cleaning. None of this matters, though, if the routine isn’t sustainable—an overly ambitious schedule tends to get abandoned within a few weeks.
A Simple Room Audit
Walk through each room and jot down its surface type, main sources of dirt, how often it realistically needs attention, and any manufacturer restrictions worth noting. Kitchens, bathrooms, entryways, and the living areas that see the most use should generally sit at the top of the list.
Match the Cleaning Method to the Surface
Different surfaces call for different approaches, and using too much water or the wrong product can cause damage that’s hard to undo. Hard floors, carpets and rugs, upholstery, sealed counters, and unsealed wood all respond differently to cleaning. Hard surfaces generally tolerate an appropriate cleaner and water just fine, while carpets and rugs usually need a thorough vacuuming before any spot treatment is attempted.[1] It’s worth checking care instructions before applying liquid, heat, brushes, or concentrated chemicals, and using floor-cleaning equipment only on the materials it was built for. As a general rule, use the least aggressive method that still gets the job done.
Build a Frequency-Based Cleaning Schedule
Daily or as-needed: deal with spills right away, clear food debris from the kitchen, manage dirt tracked in at the entryway, and wipe down frequently touched surfaces once they look dirty. Catching spots early often prevents stains from setting in and reduces how often you need stronger products down the line.
Weekly: vacuum carpets, rugs, and furniture depending on your household’s needs; clean floors using a compatible method; dust with a damp cloth so you’re not just stirring settled particles back into the air; and wash washable mats and pet bedding. The EPA points to regular cleaning, ventilation, and proper vacuuming as practical ways to cut down on indoor particles, and notes that people with asthma or allergies may want to avoid a room while it’s being vacuumed.[2]
Periodic deep cleaning: this covers the spots that don’t need constant attention—behind and beneath furniture, baseboards, light fixtures, upholstery crevices, appliance edges, and window tracks. Let actual buildup guide the timing here rather than sticking to an arbitrary schedule, and keep a mental (or written) note of recurring problem areas so your routine can adjust over time.
Reduce Dust Without Redistributing It
Walking around, cleaning, and vacuuming can all temporarily kick settled particles back into the air.[2] A few habits help here: dust with a damp cloth rather than a dry one, use suitable filtration, keep rooms ventilated, move slowly while vacuuming, and empty dust containers with some care. High-efficiency filtration can reduce the particles that escape through a vacuum’s exhaust, but it won’t eliminate all airborne allergens or stand in for other cleaning practices.[2][4] If allergies are a concern in your household, it can help to clean when the affected person is elsewhere, wash bedding regularly, and cut down on dust-collecting clutter—just without expecting any single step to eliminate allergens entirely.
Dust-Control Checklist
– Dust with a damp cloth, not a dry one
– Vacuum slowly and methodically
– Ventilate during and after cleaning
– Empty dust containers outdoors or away from occupied rooms
– Wash bedding and soft textiles weekly
Know When Cleaning Is Enough—and When Disinfection Is Needed
Cleaning clears away dirt and some germs, while disinfection goes a step further to reduce remaining microorganisms—though it isn’t necessary for every task. Soap and water are enough for most everyday situations, and disinfection becomes more relevant when someone in the home is sick or recently has been.[5] The general order matters here: clean visible dirt first, then apply a disinfectant only if the situation calls for it, following label instructions and the recommended contact time. Never mix cleaning chemicals, especially bleach and ammonia. Keep the space ventilated and use protective measures as needed whenever you’re disinfecting indoors.[1][8]
Choose Equipment by Task, Not by Feature List
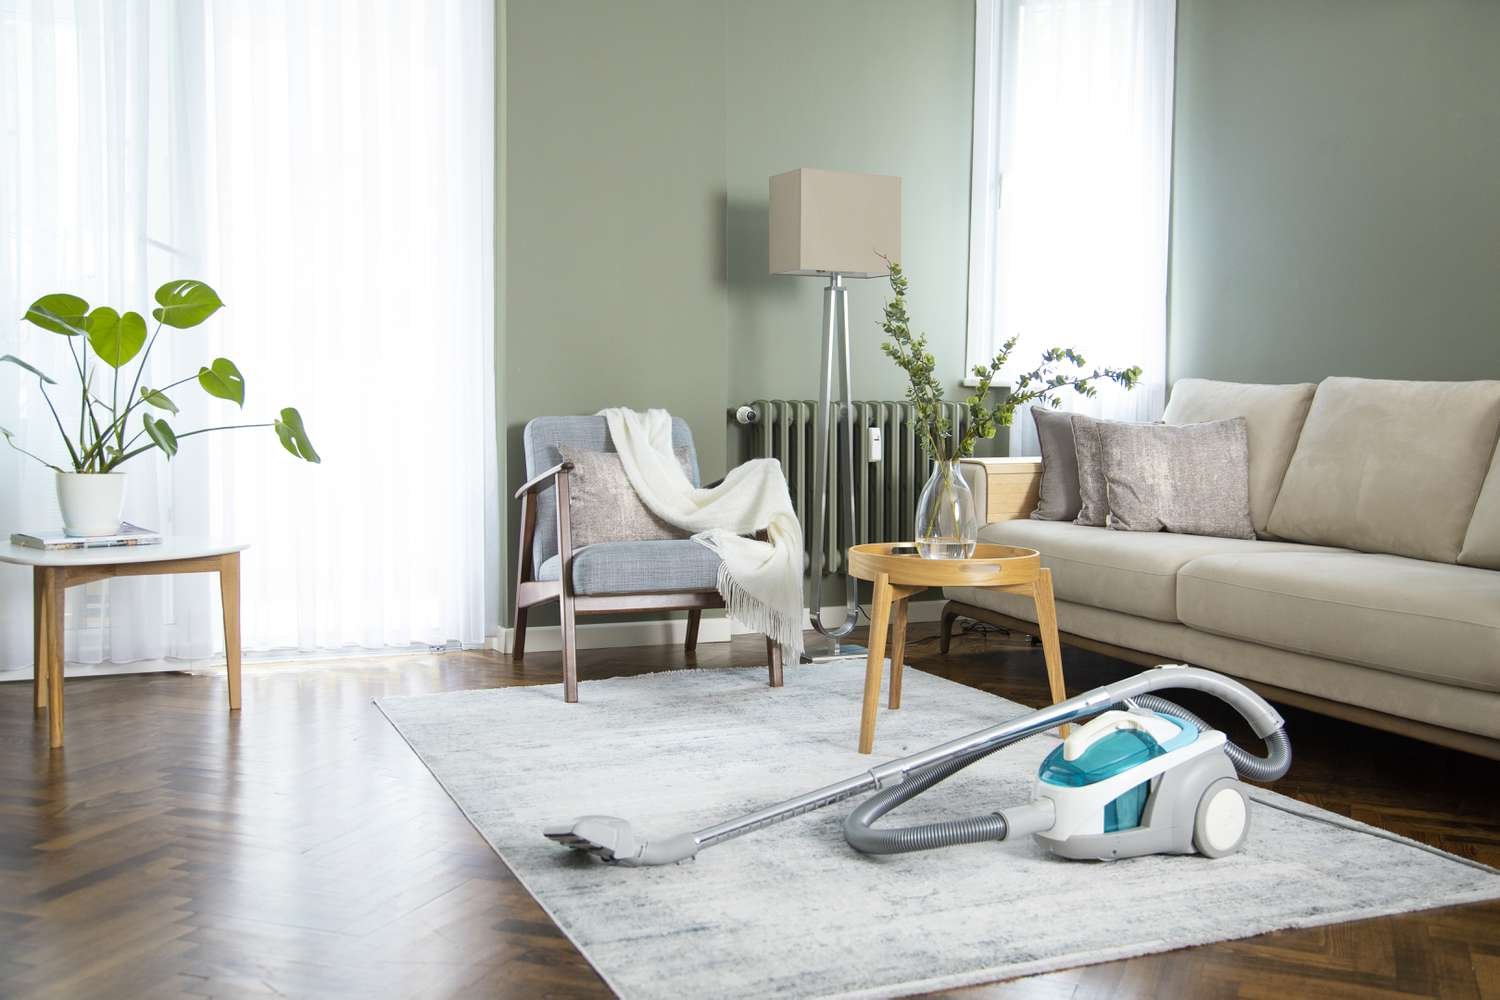
Standard vacuums are suited to dry debris, wet-capable systems handle compatible spills, automated devices support routine upkeep, and hand tools are useful for edges, stairs, and delicate areas. When choosing equipment, it helps to think about floor compatibility, filtration design, noise level, battery or cord limitations, container capacity, and how easy the filters and brushes are to maintain. Automation can take some of the routine effort off your plate, but it won’t replace detailed edge cleaning, stair care, upholstery maintenance, spill treatment, or periodic inspection.
Common Mistakes That Make Cleaning Less Effective
A handful of habits tend to undercut good cleaning results: vacuuming too quickly, using too much water, disinfecting before cleaning rather than after, using one product on every material regardless of fit, neglecting filters and hoses, assuming a surface looks clean means it’s hygienic, expecting too much from a single device, and setting a schedule that’s simply unrealistic to keep up.
Key Takeaway
Focus on high-traffic areas, use methods suited to each surface, clean regularly instead of leaning on occasional deep cleans, and disinfect selectively and safely.
A Routine That Can Actually Be Maintained
The most effective cleaning plan is one that fits your home and that you can actually stick with. That means assessing where dirt really comes from, matching tools to surfaces, managing dust thoughtfully, disinfecting only when it’s warranted, and keeping equipment in good working order. Start small—pick one room, figure out its highest-priority task, and build a manageable routine around that single need. In the end, consistent, targeted cleaning tends to do more good than chasing a spotless home through unnecessary products or excessive deep cleaning.